Dog Ear Cleaning: How to Do It Safely at Home
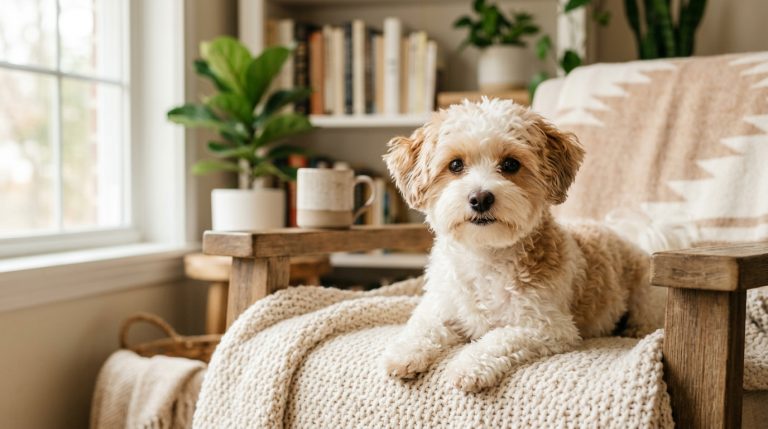
Georgie, mid-zoomie, skidded to a halt, head tilted, one paw frantically scratching at his ear. The tiny morkie’s usual joyful exuberance was replaced by a look of mild exasperation, his fluffy white ear now a little…flattened. It was the tell-tale sign that his ears, those magnificent floofs that frame his perpetually cheerful face, needed some attention. And honestly, for something so small, those ears can get surprisingly funky.
I know, I know. Ear cleaning doesn’t exactly scream “fun Friday night.” But neglecting your dog’s ears can lead to uncomfortable infections, and trust me, a trip to the vet for an ear infection is far less fun than five minutes of ear cleaning. The good news is, it’s pretty straightforward to do safely at home, once you get over the initial “I might poke something important!” panic.
The key is gentle, consistent care, and the right tools. First, get a veterinarian-approved ear cleaning solution. Do NOT use rubbing alcohol, hydrogen peroxide, or anything else you might have lying around the house for human first aid. Those can be irritating and even damaging to your dog’s sensitive ear canal. Ask your vet for their recommendation – they’ll have something designed specifically for canine ears that helps break down wax and dry quickly.
Next, grab some cotton balls or gauze pads. Avoid cotton swabs (Q-tips) for deep cleaning. While they might seem perfect for tiny nooks, they can actually push debris further into the ear canal, potentially causing blockages or even rupturing the eardrum if you go too deep. Stick to cleaning the parts you can see.
Now, for the actual cleaning. Hold Georgie steady (a treat bribe never hurts!). Gently lift his ear flap. Squeeze a generous amount of the cleaning solution directly into the ear canal until it’s full. Don’t be shy; you want it to slosh around. Now, gently massage the base of his ear for about 20-30 seconds. You’ll hear a squishy sound – that’s the solution doing its job, breaking up wax and debris. (Check out our top pick: training treats.)
Let Georgie shake his head – this is crucial for dislodging all that loosened gunk. Stand back, unless you enjoy an ear-goo shower. Finally, use your cotton ball or gauze to wipe away any visible dirt, wax, and excess solution from the outer ear and the folds of the ear flap. Only wipe as far as your finger can comfortably reach. If his ears are very red, smelly, or he’s showing signs of pain, skip the DIY and call your vet immediately. Regular, gentle cleaning at home can keep those adorable ears healthy and happy.
Frequently Asked Questions
How often should I clean my dog’s ears?
Frequency depends on your dog’s breed, activity, and ear type. Generally, aim for once a month. Dogs prone to infections or with long, floppy ears may need more frequent cleaning, while others less often.
What supplies do I need, and when should I *not* clean my dog’s ears myself?
Use a vet-approved ear cleaning solution and cotton balls/gauze. Do *not* clean if you suspect an infection, notice redness, discharge, foul odor, or pain; consult your veterinarian immediately.
What’s the safest way to clean my dog’s ears at home?
Gently lift the ear flap, fill the canal with cleaner, massage the base for 20-30 seconds, then let your dog shake their head. Wipe visible debris from the outer ear with cotton balls or gauze.
Instant digital download — print at home or at your local print shop
Similar Posts
How to Choose the Best Dog Insurance
Georgie, mid-air after a spectacular leap off the back of the sofa, landed with an audible “thump” and a yelp that could curdle milk. My heart, already in my throat, plummeted to my stomach as he clutched his tiny paw, looking up at me with wide, teary eyes. A frantic trip to the emergency vet…
How to Keep a Dog Entertained While You Work
The doorbell rang for the third time in ten minutes, each chime followed by Georgie’s enthusiastic, high-pitched “woof!” as he rocketed towards the front door, convinced it was a new package just for him. From my makeshift office (read: dining room table), I sighed, hitting mute on my Zoom call for what felt like the…
Best Calming Aids for Anxious Dogs
The first time Georgie met the vacuum cleaner, it wasn’t a slow introduction. It was a full-blown existential crisis, complete with rapid-fire yaps, a tucked tail so tight it practically disappeared, and a frantic scramble to hide behind my legs, trembling like a leaf in a hurricane. I tried to reassure him, to show him…